I don’t know about you, but I am NOT a morning person. I never was, and I highly doubt I ever will be (despite assurances from my parents that all people become morning people once they get paying jobs). So I rarely rise early enough to adequately style my hair and spare the general public its natural gruesomeness, much less to prepare a healthy breakfast! These days, rather than simply adjusting my sleeping schedule and adopting a more adult-like approach to my mornings, I strive to create easy, on-the-go, gluten-free options for my mornings.
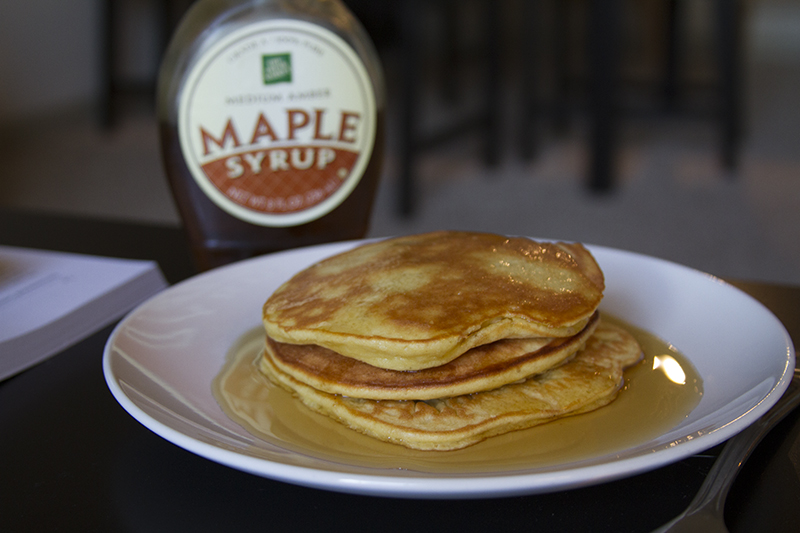
Last week, I made blueberry muffins for every day of the work week (Mentioned in my review of Namaste Mixes). While these were certainly delicious and put me in a positive mood, I did feel slightly guilty eating what was more-or-less cake for breakfast every day. So, I decided to brainstorm some healthier breakfast ideas. As I generally do, I tried to remember what my eating habits were like before my recent lifestyle changes. Before I got sick, I used to buy those Jimmy Dean’s Breakfast Sandwiches (the Lite ones, of course), and heat them in the microwave while brushing my teeth. As soon as the microwave would ‘ding!’, I’d be scrambling out the door and rushing to the bus (likely having forgotten some book or paper). I remembered that all you needed to do was wrap these pre-packaged sandwiches in a paper towel, heat them for two minutes, and voila! Breakfast on the go! So, I decided to attempt to emulate these sandwiches with gluten-free biscuits. I hope this recipe proves helpful to you, friend 🙂 It was a delicious way to start the morning today!
Gluten-Free (and Nightshade/Corn/Vinegar/Canola Oil Free) Egg and Cheese Breakfast Sandwiches! (Makes 3 sandwiches)
Ingredients:
1.5 cups Gluten-Free Biscuit Mix (I use Namaste because of my additional allergies, but I know Pamela’s Gluten-free mixes has a biscuit mix and is more readily available. Any gluten-free pie-crust mix or high-protein flour mix recipe would be fine as well. Check out the Gluten-Free 101 section for more info on high-protein mixes).
3 tbsp. Butter
1 tsp. Baking Soda
1/3 cup water
3 Egg
3 Slices of Cheese
Any extra ingredients you might like to include with your egg patty
Salt and Pepper
Directions: Bake the Biscuits
I followed the directions on the Namaste Mixes bag, which I will reproduce for you if you do not have directions on the mix you’re using:
Preheat oven to 425 degrees. Combine Mix and Baking soda, and add a pinch of salt and any other herbs you’d like to include in your biscuits. Slice 3tsp of butter into small chunks, and then cut into flour mix. I generally use my hands and just squeeze the butter into the mix (it’s easiest). Combine water and egg in a separate bowl, whisk until frothed. Pour wet ingredients into flour mix, and stir until just combined (you don’t want to combine the ingredients too well). Grease a baking sheet, and put some flour on your fingers to more easily manipulate the dough. Spoon dough onto greased sheet and form into discs 2-3 inches in diameter (I get about 6 discs out of a recipe). Bake for 8-10 minutes, until biscuits have browned. Note: These biscuits do not rise much, so while the recipe can make 6 biscuits, you’ll likely need to use 2 per sandwich.
For egg/cheese patty: You’ll need some type of mold to shape your egg into a circle. I have a silicone circle created for the purpose of molding eggs into a circle. This clever site suggests an onion ring!
Silicone Egg Ring:
Or This clever site suggests an onion ring!
Onion Ring:
The Best Onion Ring Sunny-Side Up Eggs Recipes We Can Find
I made my egg patty from scrambled eggs, because I intended to freeze these sandwiches for easy reheating. Scramble one egg per sandwich (3 eggs total for this recipe), and include salt and pepper in scrambled egg. Pour egg into egg mold in a pan set to medium-low heat, and cover the pan (otherwise the top will not cook). Once the top is cooked, sprinkle some shredded cheese, cook for another minute. Use a spoon to push the egg patty onto one biscuit. Cover with another biscuit, and enjoy!
To Freeze and Reheat: Wrap the finished sandwich in plastic wrap until sealed. Put this wrapped sandwich in a Ziploc bag, and store in the freezer until ready (sandwiches should hold for a week). To reheat, remove the sandwich from the plastic wrap, wrap in a paper towel, and heat in the microwave for two minutes. Then, run out of your house because you’re already 15 minutes late for work, and enjoy!